 ClayGeek Clay — it's what we do.
Clay artists use a few key terms to describe the stages of clay dryness during forming. It’s important to know and understand these stages so you’ll know when to attach, when you can continue to build onto larger forms, attach handles, when you can apply slip, engobes, underglaze, and when to just give up on the piece
Here’s a run down of the basic terms and stages for clay:
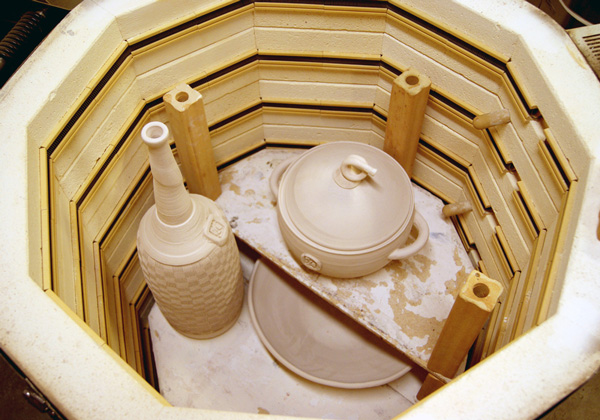
All unfired clay is greenware. When it’s fired once in the kiln, it becomes bisque. Bisque ware can be fired again with glaze or be colored with non-firing finishes. In the greenware state, there are distinct stages of drying that effect the clay’s workability:
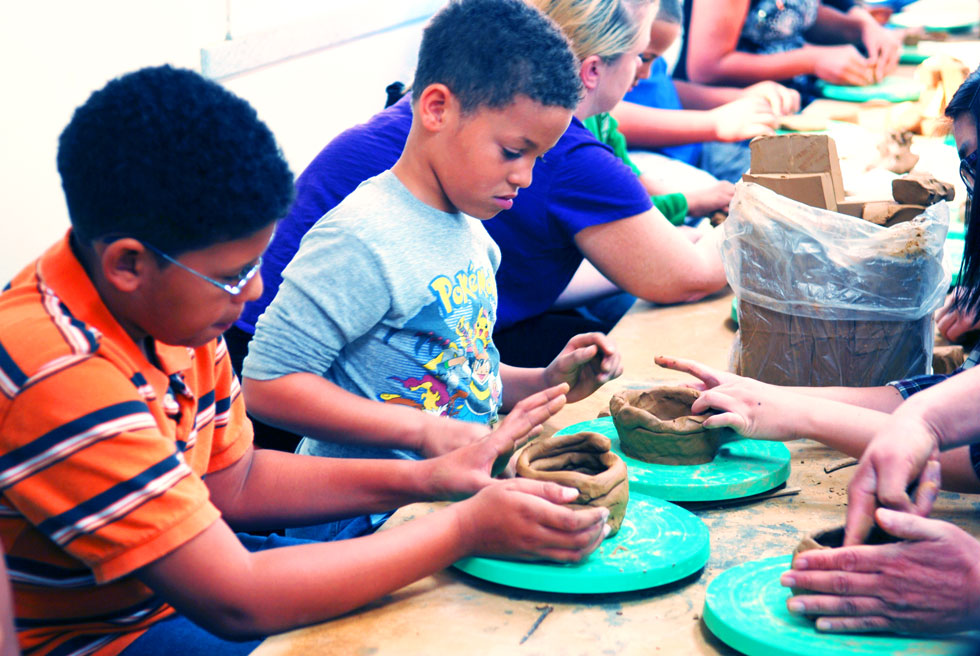
Wet – Fresh out of the bag. Still able to be manipulated and sculpted without much breakage. The surface of the clay will easily take an impression and attaching is easy.
Leather hard – Now the clay has stiffened up significantly. Like leather or firm cheese. Attaching is more difficult. This is the time to do carving, apply decorative slips, terra sigillata, burnish or just leave it alone!
Bone dry – The clay will be much lighter in color. Attaching will be pretty much impossible without a commercial mender or paperclay slip. Carving won’t be much fun either. Pieces are at their most fragile during this stage. At this point, the piece is ready to be fired.
You’ll hear a lot of people reference in between stages such as “drier side of leather hard” or “early leather hard”. You often have some wiggle room.
Keep in mind – your environment will effect how quickly your clay moves through these stages. Here in our humid Houston climate, pieces take a very long time to dry. Often bone dry pieces will hold a significant amount of moisture in the center. In the arid climate of Santa Fe, that’s not so much of a problem. It can be a challenge to keep the clay moist during the forming process. Air conditioners in your studio speed up the drying process and depending on their location, can cause uneven drying. Uneven drying can lead to warping or cracking in your piece.
To prevent pieces from drying too fast, cover with either dry cleaning, grocery or garbage bags. The clay will still dry under the bags, but at a slower rate. This will prevent a lot of cracking and warping during the drying stage.
If you’re in a hurry to dry your piece, experiment with removing the plastic for a few hours during the day and putting the plastic back on over night. If air conditioning is blowing around the piece while it’s uncovered, you’ll need to also rotate it throughout the day. As you gain experience you’ll begin to intuitively know how to control your piece’s drying based on your studio setting.
Is it true that greenware, if left too long without firing, will break in the kiln if fired? I have some pieces that I made (handbuilt) over a year ago and never got around to firing them. Wondering if they’ll be OK to fire. A friend told me she thought not.