ClayGeek Clay — it's what we do.
I’m a big fan of distilling information into the very bare-bones. As with most mediums, ceramics has core techniques which make the building blocks of all forms.
We’re going to share with you a summary of the basics forms to master for clay work:
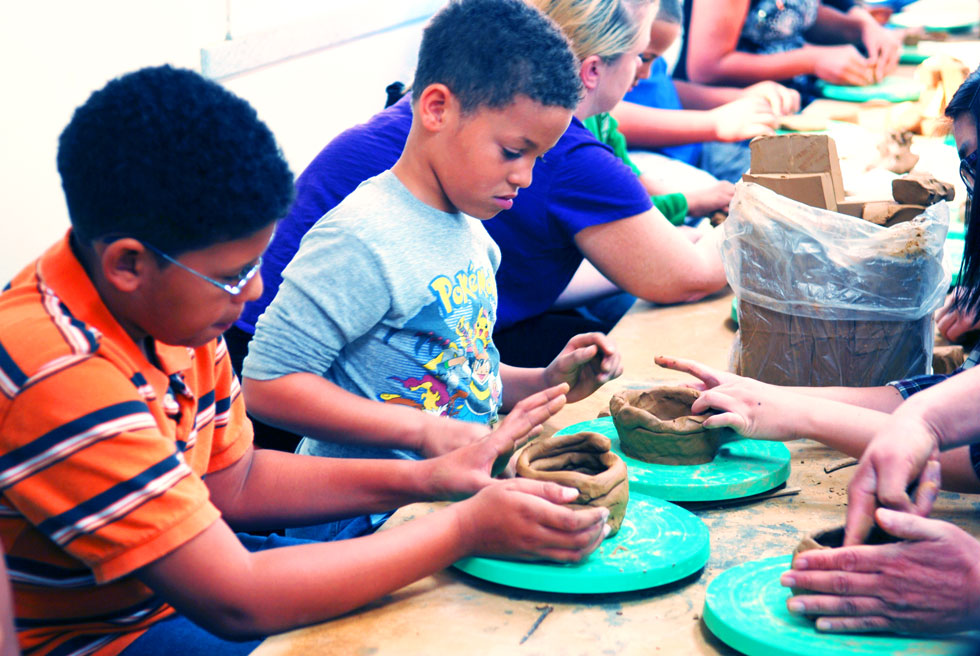
The Pinch Pot
A perennial favorite of school kids everywhere. It’s a simple form that starts with a ball of clay that is pinched out using one’s thumb and index fingers into a bowl. Yes, it’s a pretty primitive technique. But don’t be so quick to dismiss it – two pinch bowls of the same size can be attached together to make hollow forms. Check out: How to make an ocarina using pinch pots.
Coiling
Greek vases, Korean ongi pots. Making a coil pot will teach you all about the fundamental technique of ceramics – scoring and slipping. If the clay is wet enough you can get away with attaching by just smoothing the clay coils. Otherwise, use a fork or serrated tool to score the surfaces where the clay will join together. You can make an attaching slip by pulverizing dry pieces of the clay you are using and adding enough water to form a paste or thick cream. Check out this great coil pot tutorial from Lakeside Pottery.
Vinegar- can be added to an attaching slip to enhance its properties. Vinegar causes a thixotropic reaction in clay (remember playing with cornstarch and water?) which allows it to “melt” the surface the clay, allowing for a better bond when dried.
Slab Building
Slab building is a fast way to build height on a sculpture or pot. Also it’s the basis for making your own custom tiles (new back splash, anyone?). It’s a core technique for handle built tableware.
Good compression is the most important technique for a well-made slab project. Always start with a slab of clay that is thicker than the final piece needed. Alternate rolling in different directions and flipping the slab to compress the clay. Keep alternating sides and compressing until the desired thickness is achieved. This will strengthen the clay and prevent warping and stress cracks during the drying and firing. Check out a genius way to use clay slabs and old frames to make plates.
Wheel Throwing
Ever seen Ghost?
Throwing on the wheel is all about consistent practice. Centering and pulling requires practice and developing muscle memory. If you’re new to wheel throwing, it is highly recommend you take a hands-on class to get your started. From there you can experiment with different methods of centering and pulling – there is no right or wrong way. Remember to emphasize compressing the bottom of wheel thrown pieces to prevent “s” cracks. Here’s a nice pictorial guide to centering from the Clay Pot Co.
That’s the basics of clay forming: pinch pots, coils, and slab building and wheeling. From these simple techniques you can push the limits of your work.